
Spring & Summer 2007
Ontario Cottage Dock Rejuvenating
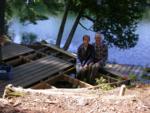
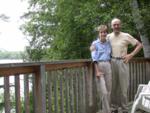 Kitty's and Paul's first photo upon return to the Harcourt Park Ontario cottage for the warm months, on the deck high above the water's edge. This was taken before Kitty discovered - when looking down from the end of the dock at the fish in the shallows - that one of the supports appeared to be badly rusted and about to collapse. The dock was built about 20 years ago by Paul's daughter and her then husband as a replacement for the one Paul had installed when he first built the cottage 40 years ago. That one had no metal posts but instead used the large boulders on the wide underwater ledge for support plus a couple that were moved into place for just that purpose. (This natural ledge before the sharp drop-off of 15 to 20 feet was a major reason why Paul chose this lot originally.) It was not as large and didn't include the fancy deck area that was built along with the replacement dock. Not wanting to lose the dock entirely, we decided to rejuvenate it, including refinishing the cedar planking that had never been coated. Cedar is sold with the assurance that it will last the "lifetime" of the dock, but by that is typically meant - when one presses for a number - 20 years. Now that is a trifling for a couple of life extensionists like us who look to having at least another 50 years before cryopreservation becomes necessary, if it ever does.
Initially we thought that removing and replacing the observed corroded posts and cleaning the algae off the surface boards would be all that was necessary. However, once we got a bit into the task, we found that there was more degradation taking place in the dock than seen on a cursory look and some things just were not to Paul's liking as an engineer - nor Kitty's either for that matter, being an engineer too.
The first step taken was to slightly raise the far end portion of the dock using levers and extra supports in order to remove the weight so that removing and replacing the post at the end could be done. Initially we used the same gauge galvanized steel pipe on the first 3 posts; there was some residual under the cottage. A couple weeks later we bought 3 lengths of thicker walled tubing (same outer diameter) and replaced the outer locations already done and used it for many of the other 14 posts, in all by the end, supporting the dock.
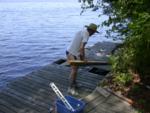
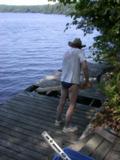
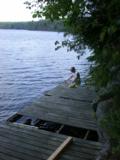
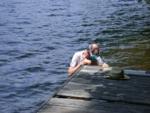
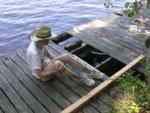 Paul's understanding of levers was instrumental here in raising the far end of the dock sufficiently to replace the outside end post.
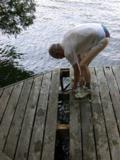
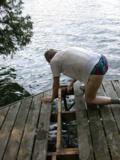 Paul took care in removing the dock boards to get to additional posts since we wanted to use them again after cleaning.
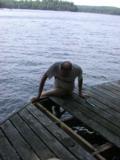
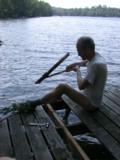
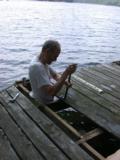
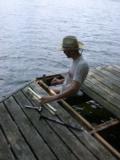
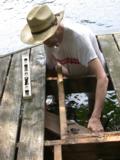
About a 3 week hiatus occurred in the dock work due to preparations for, recovery from and the actual drive to Arizona to take care of some affairs there. But once ready to go at it again at the beginning of August, considerable progress was made.
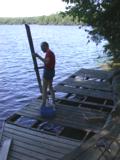
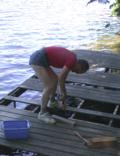
Taking care in removing boards was always done, but with many the nails pulled through anyway. And these were all galvanized spiral nails - or Ardox nails as they're commonly called in Ontario - most of which were still perfectly good and joined the sorted assortment in Paul's collection.
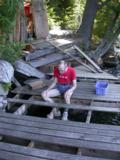
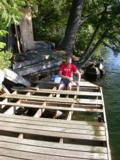
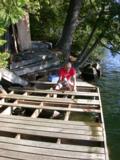 Paul took his time as is his usual way, pausing many times to just study the entire dock, then proceeding to uncover more portions and analyze the situation again. Only when he had a good picture in his mind of the best method did we discuss it, review options and proceed with what we agreed to be optimum. Note the rock ledge edge under the dock and just sticking out in front in the right foreground of the picture.
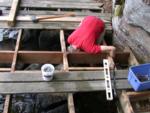
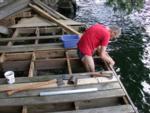
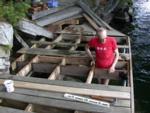 After he installed another temporary support - the rock under left center beam as viewed in 2nd & 3rd picture to left - Paul then worked on replacing another of the perimeter posts.

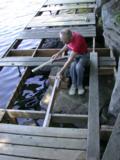
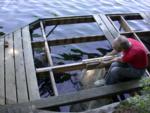
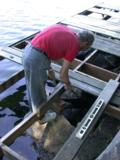
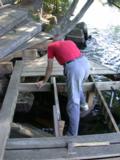 Inspection of the strongly wood ant-eaten beams convinced us that replacing them in this area was necessary, otherwise one or the other (or both) would likely fail in a few years.
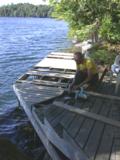 We decided which removed boards could be reused in the same location and when the ends and/or sides were too badly deteriorated. Many could be used elsewhere after even several inches of shortening. However, there was no way to avoid purchasing several new boards for the dock itself and some also for the adjacent decking.
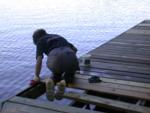
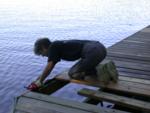
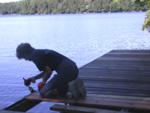 Kitty did not just stand around taking pictures and offering advice. She spent most of the time scrubbing the dock boards, cleaning the accessible surfaces of many years of algae and dirt collection. We don't think that the boards had ever been water sealed, but that is what Kitty did after she was satisfied with the level of cleaning. She got more fussy about the old boards later in the process.
Once Paul had completed the structural repairs and corrections to the dock itself, he took a critical look at the decking and cabin. (Actually he then proceeded, using levers, the car jack and with some help from Kitty, to raise the back side of the cabin which had been sloping badly. And then there was the removal of the dead birch immediately adjacent to the dock - see in first 2 photos following. But these will be other photo pages ;>) Clearing the deck back from the hillside to prevent collection of downed leaves and needles was a must since this had resulted in the rotting of ends of several boards (and much of the supports at the back of the cabin). Similar trimming back on the dock boards had been done from the rock cliff itself for the same reason.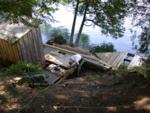
Paul also rebuilt much of the deck structure - the area he's standing in (first picture) was redone to allow for a trough in front of the rocks and natural steps up the hill.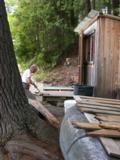
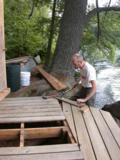
This one was taken for our formal every 3 months photos that are on our Personal Introduction page.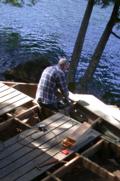
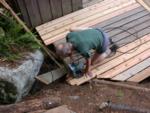
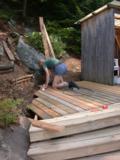
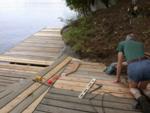
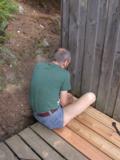
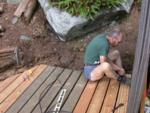 With the steps essentially done, Paul went back to work on the deck, replacing those boards that were deteriorated - with longer boards removed from other locations which now had new boards. Providing a trough on the 2 sides lets the leaves and needles collect there - which we will regularly remove upon returning each Spring and did so before leaving at the end of October.
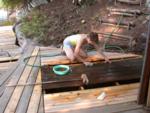
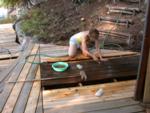 All the time that Paul was removing boards, reworking structure and replacing boards, Kitty was mostly cleaning the old boards that were to be reused, either in place or at another location - sometimes using the original underneath surface as the top. A large long handle brush with water was the first step. A second (and sometimes 3rd) was done with hand brushes and a toothbrush in the gaps to get to the sides of each board. Later when all work on the deck was done, sealer was applied by brush.
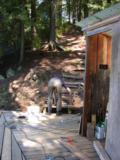
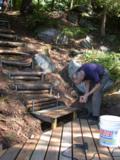 The last major item of work on the dock/deck was creation of a wood first step, leaving the rest all natural (soil fronted with typically cedar logs held in place with galvanized pipe stakes - the formerly used wooden ones rot out too fast) as before.
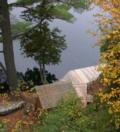 A view of our rejuvenated dock taken from atop the cottage about a month after the last photo was taken. All the water protectant coating is done on old and new boards, much of the same and additional water protectant applied to other areas where moisture can collect. We'll be monitoring the sealant status and reapplying every few years at least, taking great care as Kitty did this time, to minimize drips into the lake. Yes, we're very pleased with our calico looking (piebald or varigated) dock achieved from our judicious use of new wood, making use of much of the original. It's definitely one of a kind.
MoreLife is Always "Under Construction"
Initially posted 11/24/2007
Page last updated 7/7/2008
Any questions, comments or suggestions regarding the content of this website
should be addressed at MoreLife Yahoo.
For comments on webpage format, contact Kitty
Antonik Wakfer
 Kitty's and Paul's first photo upon return to the Harcourt Park Ontario cottage for the warm months, on the deck high above the water's edge. This was taken before Kitty discovered - when looking down from the end of the dock at the fish in the shallows - that one of the supports appeared to be badly rusted and about to collapse. The dock was built about 20 years ago by Paul's daughter and her then husband as a replacement for the one Paul had installed when he first built the cottage 40 years ago. That one had no metal posts but instead used the large boulders on the wide underwater ledge for support plus a couple that were moved into place for just that purpose. (This natural ledge before the sharp drop-off of 15 to 20 feet was a major reason why Paul chose this lot originally.) It was not as large and didn't include the fancy deck area that was built along with the replacement dock. Not wanting to lose the dock entirely, we decided to rejuvenate it, including refinishing the cedar planking that had never been coated. Cedar is sold with the assurance that it will last the "lifetime" of the dock, but by that is typically meant - when one presses for a number - 20 years. Now that is a trifling for a couple of life extensionists like us who look to having at least another 50 years before cryopreservation becomes necessary, if it ever does.


