
Spring & Summer 2007
Ontario Cottage Property Projects
Renovation of the cottage dock and adjacent decking was the major outdoor task in the warm months of 2007, as was covered pictorially on the previous page. In between and following it were several other items that Paul had wanted to accomplish, one in particular that had nagged at him for the last couple of years.
When Paul and his first wife Dagny bought the Harcourt Park property in 1965, their first task was to put in place a small prefabricated cedar cabin near the lake edge in which they lived while building the cottage in its current location. A two burner stove and oven was used for cooking/heating and an outhouse over a septic tank (planned to be in the correct orientation and position for later connection to the cottage) provided the young family (3-4 year old daughter and infant adopted son as of June) with toilet facilities during that first late spring, summer and autumn during which as much time as possible was spent there. Once the cottage was completed and moved into, the old cabin was used for storing boats and boating/swimming equipment; about 20 years later it was reduced/rebuilt to half its size by Paul's former son-in-law and that is how it has been for about the past 20 years. During this time the back of the cabin had dropped considerably, partly because of rotting due to constant incursion of the hillside earth and vegetation, causing a severe tilt to the entire structure. It was this deviation from level that Paul decided to correct during a 3 day break from the dock rework in mid-August, including freeing the back lower edge from further deterioration by being constantly against soil and vegetation.
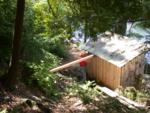
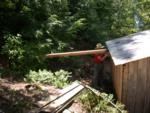
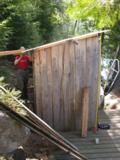 Paul used a couple different methods for raising the rear of the cabin. The first made use of the mainly rock face of the steep hill several feet behind the small building - and the car jack. Large flat rocks were placed under the cabin to hold it in a more erect position, but this technique was insufficient.
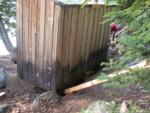 That same 4x4 got more use as a lever on one corner under which additional flat rocks were placed.
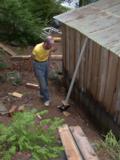
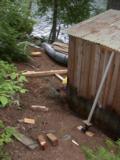
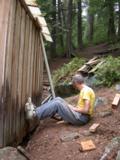 More was needed to get the entire back of the cabin up in order to slide a moisture protected 2x6 under the entire length that would rest on the newly placed "pilings" of flat rocks. For this stage the car jack and a piece of aluminum electrical conduit remaining from the original cottage wiring installation (also completely done by Paul) were used.
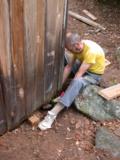
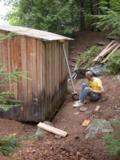 Missing from these photos are the steps of Kitty coating the beam and working with Paul to slide it into place. Once that had been done (with the safety block in place, seen next to Paul's foot in photo to far left), only final tweaking of placement was needed and lowering of the cabin onto the beam.
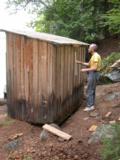
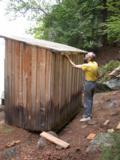
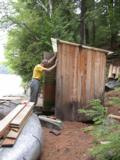 Paul was pleased with the cabin's state of level and sturdiness once the job was completed.
What we've done to reduce the likelihood of further deterioration of the cabin's cedar planking on the back - to date from being in the wet dirt and leaves for at least 20 years - is to dig a narrow trench along the back. The leaves and pine needles that collect in the trench then will be cleaned out at least twice yearly, thereby providing long periods when the wood is free from moisture.
At this point Paul went back to the dock work and completed the structural repairs and modifications. Once that was done - and before he started in on the decking in front and to the side of the cabin - he turned his attention to the mostly dead birch nearby. (Some sort of blight has attacked many of the birch in this part of Ontario over the past several years and finding dead ones is a common occurrence.)
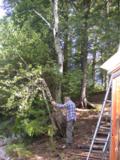
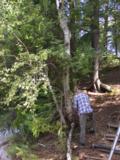 First thing to do was to remove the 2 small trunks that had sprouted a few years earlier from the base of the birch which we decided 2 years ago was terminal. We decided not to keep these younger birch because we really wanted more sunshine to reach the blueberry bushes and promote their growth. We decided together that trying to take the birch down with one cut at the base was too difficult for a controlled fall in a direction that would do no harm to the surroundings. Therefore topping the dead tree first was the plan.
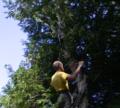
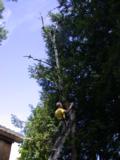
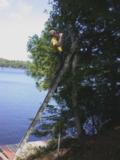 With only a few throwing tries, Paul got a nylon rope over a crook in the birch above where he planned to cut. Then with his safety belt in place, he began to saw the birch.
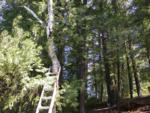 Paul tightens the winch that he had connected to another tree further up the hill, before beginning the topping of the birch, to see if the birch will break, but some more sawing is still needed.
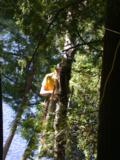
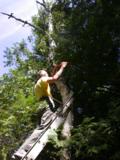
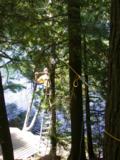 Even though sawing through most of this birch did not take more than 10 minutes, Paul found it very awkward because it was being done over his head and while on a ladder.
 Another tightening of the winch, but the trunk is still not ready to break.
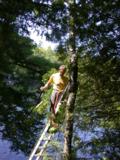 Just a very few more passes of the saw for Paul to decide to remove his safety belt and descend the ladder once again. This time he was sure the dead birch top would go.
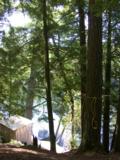 Tightening up on the winch and the top of birch now broke just as expected.
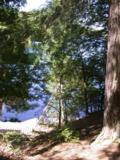
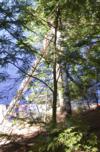
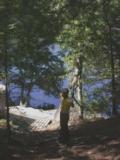 The birch top is down neatly without any damage, resting against remaining trunk, and Paul notes his pleasure. Now comes the work of removing it - and the remainder of the trunk.
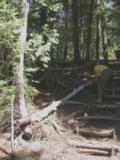
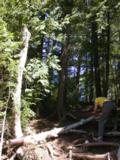
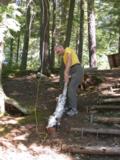 Now came the work of cutting up the topped portion of the dead birch. With the winch rope holding the larger end, Paul cut off pieces of the upper end. Then with Kitty's help (after snapping the photo to the left), the remaining topped portion was taken up the hill near the wood pile for final cutting.
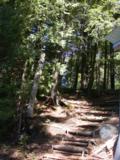
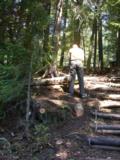
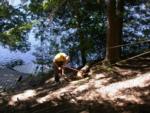
Paul then retied the winch rope to the remaining birch trunk, sawed it mostly through and then pulled it down. Cutting the downed trunk, held in place on the hill by the winched rope, was the last of the work on this dead tree.
All that remained was to clean up the small twigs littering the area. About 5 hours work - all by hand almost entirely by Paul - and the removal of the dead birch was done. No need for a gym membership when doing tasks like this ;>)
MoreLife is Always "Under Construction"
Initially posted 1/4/2008
Page last updated 7/7/2008
Any questions, comments or suggestions regarding the content of this website
should be addressed at MoreLife Yahoo.
For comments on webpage format, contact Kitty
Antonik Wakfer


 Paul used a couple different methods for raising the rear of the cabin. The first made use of the mainly rock face of the steep hill several feet behind the small building - and the car jack. Large flat rocks were placed under the cabin to hold it in a more erect position, but this technique was insufficient.


