
May & June 2006 Ontario Cottage Renovations
Returning to Ontario from Arizona for Kitty and Paul Antonik Wakfer meant getting into the major tasks associated with renovation to the cottage that Paul had built himself almost 40 years previously. Since this would be our home for 6 months out of the year, we wanted it to be comfortable and conducive to productive work, which for us is virtually all done on our computers. Enlarging the living room so that our office space would have visibility and access directly was to be biggest job. This meant that the wall that had separated the living room from the center bedroom (occupied by his young children when the cottage was first built) would make this possible; our computers were in this location since our move from the Toronto apartment in May of 2005.
Paul spent considerable time, starting in the summer of 2005, planning the wall removal - measuring, calculating, consulting a civil engineer acquaintance, remeasuring, recalculating, listing materials and supplies required, and devising a schedule of tasks to replace the wall with a supporting beam. When he and Kitty were satisfied that the plan had been satisfactorily fine tuned, materials and supplies were bought. The series of tasks were printed out - mainly for Kitty's comfort - and the task began. This page could be subtitled, "How to Disassemble a Tongue and Groove Log Wall and Erect a Supporting Beam"
Before anything was done to the wall to be removed, Paul installed temporary supports under the front to back beams in the living room and in the center bedroom, both of which rested on the wall to be removed.
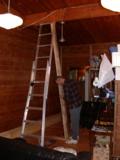
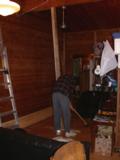
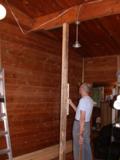
In the living room, Paul puts in place a 4x4 cedar post under the beam that that run from the front of the house to the wall to be removed.
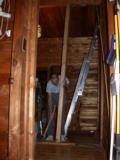
The same steps are taken for the support post under the beam that run from the back of the cottage to the the same wall destined to be replaced with a beam.
The replacing beam is to be constructed of 3, 14 foot spruce 2x8s spiked together with 4-1/2" ardox nails which have a spiral surface (rather than smooth) for improved holding.
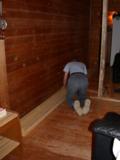
Paul measures where the nails are to be placed.
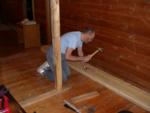
Then Paul drives in the nails on both sides of the 3 layers, creating the beam. It was then put to the side (and out of Paul's way) for Kitty to stain, since it was spruce and much lighter than the 2 douglas fir beams which it would support.
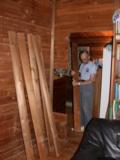
With the support posts firmly in place, Paul starts on removal of the the wall between the south bedroom (the one we have been using) and the living room. It will be reconstructed to move the doorway from where it had been.
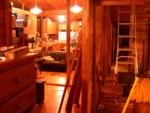
It was almost 11:30pm when Kitty took this photo from our bedroom showing the temporary full opening into both the living room and central bedroom (soon to part of the living room). Both support posts can be seen from this view, as well as Paul getting himself a cup for tea.
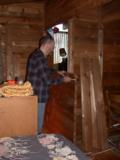
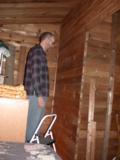 Paul wanted to get a preview of how the portion of the bedroom wall up to the new doorway would fit. How much spacing of the logs would be necessary in order that they were closely aligned with those of the existing perpendicular wall? So he went ahead and placed the logs (taken from the wall between the old doorway and bedroom closet opening), briefly closing in the old doorway. This way he would know what to expect when erecting that wall permanently later.
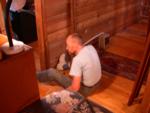 After then taking down the "preview wall", Paul started in with vigor on the removal of the living room wall. He started by using his feet to get the "free" corner of the wall moving a bit away from the post.
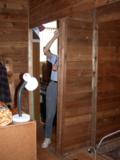
The post was still attached in several locations via nails to the endcap into which each log was toe-nailed. These Paul either broke by hammering with a chisel into the gap, or more often sawed. Nails from the endcap that previously held the logs forming the closet for the center bedroom also had to be cut in order to allow the wall to be moved. All of this "movement" was necessary to create some space at the other end of the lowest logs in order to then pry the first one out - AND not ruin the logs that are to be used intact for other construction.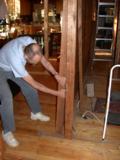
Finally, some measurable movement at the free end away from the post and the old closet endcap.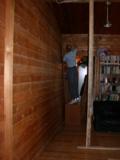
From the living room side of the wall, Paul uses a hacksaw blade to cut a nail attachment between the to-be-removed wall and the to-be-retained portion of the bedroom wall. The snap of the nail finally breaking after many minutes of sawing was a welcome sound to both to of us, especially the one doing the sawing at the time.
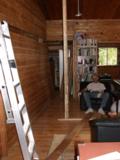 It was the next afternoon when Paul, with Kitty's help, was finally able to create sufficient gap at the fixed end and between logs to free the first one. It occurred at the top of the "stack" of logs no longer attached to the post at the bedroom end. This first log out rests on the living room floor as Paul takes a rest himself. If we'd just wanted to tear the wall down without any desire to preserve the logs, the job could have been done in a few hours.
In creating this page some 4 months after the start of the wall removal, Kitty was baffled when looking at the timestamp for the next few photographs. The fourth one below (with Paul in a heavy shirt) is timestamped prior to the last one above where Paul is resting after finally removing the first log!? But the wall gone obviously occurred after the first log was removed.
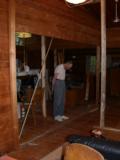 It didn't take very long at all - less than 2 hours - to remove the rest of the logs up to level of the remaining bedroom closet wall running perpendicular. With the far end of the partially remaining wall supported on a shortened post, Paul views the deflection done to floor boards under the removed upright and wall at location the abutting beams.
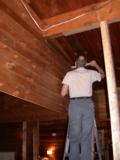
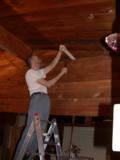 Paul thought that some widening of a visible gap at this point in the remaining logs would allow him to remove a small one at the top. Unfortunately, he just couldn't make enough space to lift the top logs off the tongue the entire length. And we wanted to get the logs out with as little damage to them as possible.
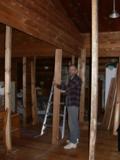
The next morning removal efforts were restarted at the bottom of the remaining portion of the wall. The two bottom logs had had the nails into the far 2 posts cut with a hacksaw blade (a tedious job at which Kitty and Paul took turns). The upper logs were firmly supported at the far end. Gradually lowered support was provided as the the two lower logs were further lowered below the level of the remaining portion of the bedroom wall. We wanted this to be a controlled descent. 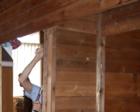
(This view of the far end from the bedroom shows the posts before the lower logs were removed as well as middle bedroom closet upper wall at right and remainder of our bedroom wall running diagonally left to upper right.)
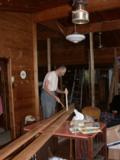
Finally the last two of the full length logs are down - they came down together and Paul here pries them apart for storage. (Kitty removed the nails on most of the logs before they were neatly stored on the front deck.) The remainder of the closet wall from the almost gone middle bedroom can still be seen in the background just above Paul's head.
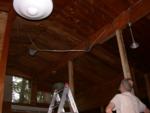
The last of the logs, the 3 short ones on either side of the beam, are now down - the wall is history!
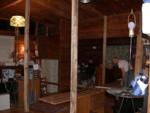
Paul wouldn't call it a day until the main bedroom closet wall in the now eliminated middle bedroom was removed. A similar controlled descent method was used for it also. Here Paul separates the last 4 logs which were brought down as a unit; the logs were almost half the length of the large wall and therefore proportionately lighter weight.
After this came the removal of the short wall of logs that existed between what had been the closets for both the middle bedroom and the south bedroom - an easy task that Kitty handled. She and Paul had decided that they would use in this bedroom one of the wardrobes from the Toronto apartment instead of a walled closet. This allows the new office area to be the full width from the bathroom to the remaining bedroom.
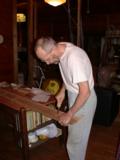
Paul took a week getting all the tools and material ready for erecting the beam. This included notching the new supports that would be at either end of the new beam.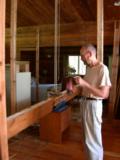
Then he was ready to dry run the process. A winch was fastened to a large screw hook in a ceiling board at a point Paul estimated would provide the best balance point for the lift. We devised a sling and tried it out first before Kitty stained the beam. Finally here on May 30 we got ready to do the real thing.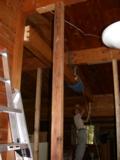
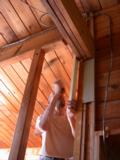
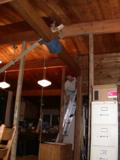
It took all day to get the beam into proper place at both ends, with the support posts underneath, and the beam level. But with much determination Paul succeeded.
The next day we were ready to put the tiered block in place which would allow the newly raised beam to actually provide the support to the original two beams that had been lost with the wall removal.
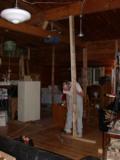
With the "between beams" block in place, Paul first removed the temporary posts. Then he released the winch.... everything stayed in place just as he expected. Kitty stained the block after it was in place and also did some sanding and staining of the 2 original beams where they joined and had darkened considerably over the many years.
With the new beam up, the two most difficult single tasks were done, but there was still a lot to do - some of which can be seen on the next page.
MoreLife is Always "Under Construction"
Initially posted 10/5/06
Page last updated 10/5/06
Any questions, comments or suggestions regarding the content of this website
should be addressed at MoreLife Yahoo.
For comments on webpage format, contact Kitty
Antonik Wakfer


